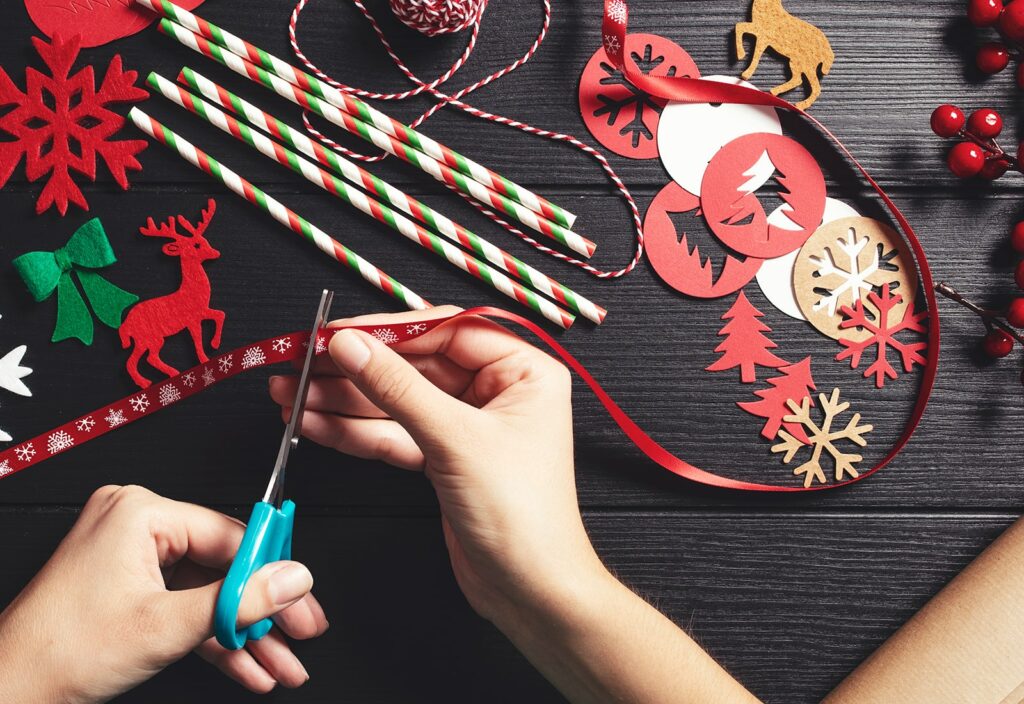
Making your own DIY Christmas Tree Ornaments is a fun way to spend time with your family and get into the holiday spirit. In this article, we’ll share some easy projects you can do together, combining creativity, enjoyment, and special memories.
When you create your own DIY Christmas ornaments, you’re not just making one-of-a-kind decorations; you’re also encouraging teamwork and building traditions. The main point here is that these holiday crafts offer a valuable chance to connect with your family during this festive time.
The Joy of DIY Ornament Making
Crafting ornaments together fosters creativity and teamwork among family members. As you gather around the table with paints, ribbons, and clay, each person can contribute their unique ideas and skills to create something beautiful. This collaborative effort not only results in stunning decorations but also strengthens family bonds.
Creating Lasting Traditions
Creating lasting family traditions through DIY projects like making ornaments can become a cherished annual event. Imagine the joy of unpacking a box of handmade ornaments each year, each piece evoking memories of past holiday seasons spent together. These traditions help instill a sense of continuity and belonging for everyone involved.
Reflecting Your Unique Style
Handmade decorations enhance the holiday spirit by reflecting your family’s unique style. Whether it’s rustic wooden mushrooms or elegant hand-painted glass balls, these personalized touches make your tree truly one-of-a-kind. The act of making these ornaments together adds an extra layer of meaning to your holiday celebrations, filling your home with warmth and joy.
“The best part about crafting ornaments as a family is that it combines creativity with quality time,” says a customer from Modern Nativity. “Our tree feels special because it’s adorned with pieces we’ve made together.”
By engaging in these creative activities, you not only decorate your home but also create memories that will last a lifetime.
Essential Materials for DIY Ornaments
When starting on your DIY ornament-making journey, having the right craft supplies and ornament-making tools is crucial. Here’s a handy materials list to get you started:
- Paints: Acrylic paints work well for most surfaces, including wood and glass.
- Brushes: Various sizes can help with detailed designs or broader strokes.
- Ribbons and Strings: Ideal for hanging ornaments and adding decorative touches.
- Clay: FIMO or air-dry clay are versatile options for creating custom shapes.
- Mod Podge: Useful for sealing and adding a glossy finish to your creations.
- Beads and Sequins: Perfect for adding sparkle and texture.
- Fabric Scraps: Use these for wrapping or creating unique textures.
Sourcing these supplies affordably can make your projects even more enjoyable. Modern Nativity offers a wide range of Christmas-themed products that can complement your DIY efforts. Their collection includes:
- Festive ribbons
- Decorative paints
- Unique crafting kits
For more details, visit Modern Nativity.
Safety tips are essential, especially when crafting with children:
- Non-toxic materials: Ensure all paints and glues are child-safe.
- Supervision: Always supervise younger children during crafting sessions.
- Tools: Use child-friendly scissors and avoid sharp objects.
By gathering these materials, sourcing from trusted suppliers, and following safety guidelines, you ensure a fun, creative, and secure experience for everyone involved in making DIY Christmas ornaments.
Simple DIY Ornament Projects to Make with Your Family
1. Cottagecore Mushrooms
Creating charming wooden mushroom ornaments is a delightful way to add a touch of whimsy to your tree. These DIY Christmas ornaments projects are perfect for families looking to spend quality time together while crafting unique decorations.
Materials Needed
- Wooden mushroom shapes (available at craft stores or online)
- Acrylic paints in various colors
- Paintbrushes (small to medium size)
- Mod Podge for a glossy finish
- Small container for water
- Paper towels or old cloth for cleaning brushes
Step-by-Step Instructions
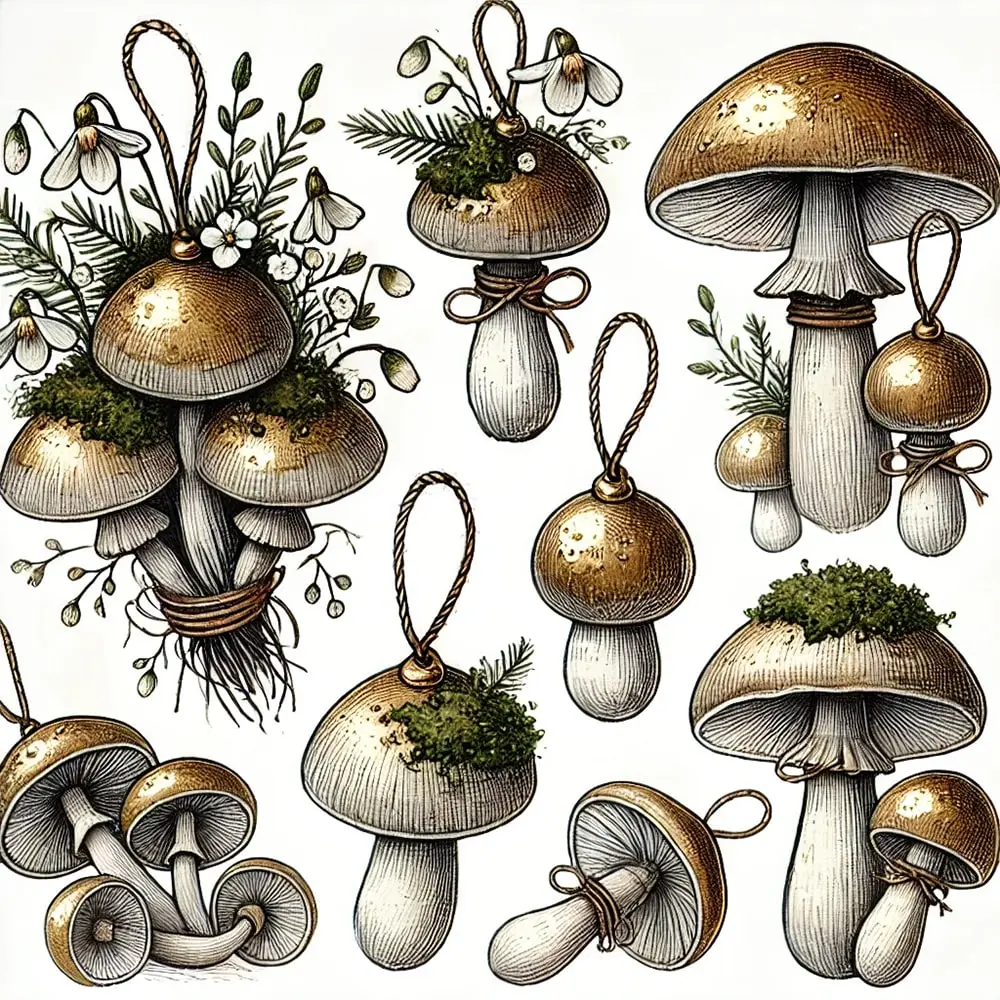
- Prepare Your Workspace: Set up a crafting area with all your materials within reach. Cover the surface with newspaper or a disposable tablecloth to protect against paint spills.
- Base Coat: Paint the entire wooden mushroom shape with a base color of your choice. Allow this coat to dry completely before moving on to the next step.
- Detail Painting: Once the base coat is dry, use smaller brushes to add details such as spots on the mushroom cap and shading around the stem. Encourage each family member to get creative with their designs.
- Dry Time: Let the painted mushrooms dry thoroughly. This might take about an hour depending on the thickness of the paint layers.
- Glossy Finish: Apply a layer of Mod Podge over the painted mushrooms using a clean brush. This will give the ornaments a shiny, polished look and help protect the paint from chipping.
- Final Touches: After the Mod Podge has dried, attach a small piece of ribbon or twine to each mushroom so they can be easily hung on your Christmas tree.
Tips for Success
- Mix Colors: Experiment with mixing different shades of paint to create unique hues for your mushrooms.
- Layering: Apply multiple layers of paint for more vibrant and rich colors.
- Personalization: Add initials or small designs that reflect each family member’s creativity.
Using Mod Podge provides an excellent glossy finish that enhances the whimsical decor of these wooden mushrooms, making them standout pieces on any Christmas tree.
2. Floral Hand-Painted Ornaments
Creating floral hand-painted ornaments can be a delightful project for the entire family, letting each member’s creativity shine. Using clear glass or plastic ball ornaments, you can craft personalized designs that reflect your family’s unique styles and preferences.
Materials Needed:
- Clear glass or plastic ball ornaments
- Acrylic paints in various colors
- Fine-tipped paintbrushes
- Palette for mixing colors
- Water cups for cleaning brushes
Step-by-Step Instructions:
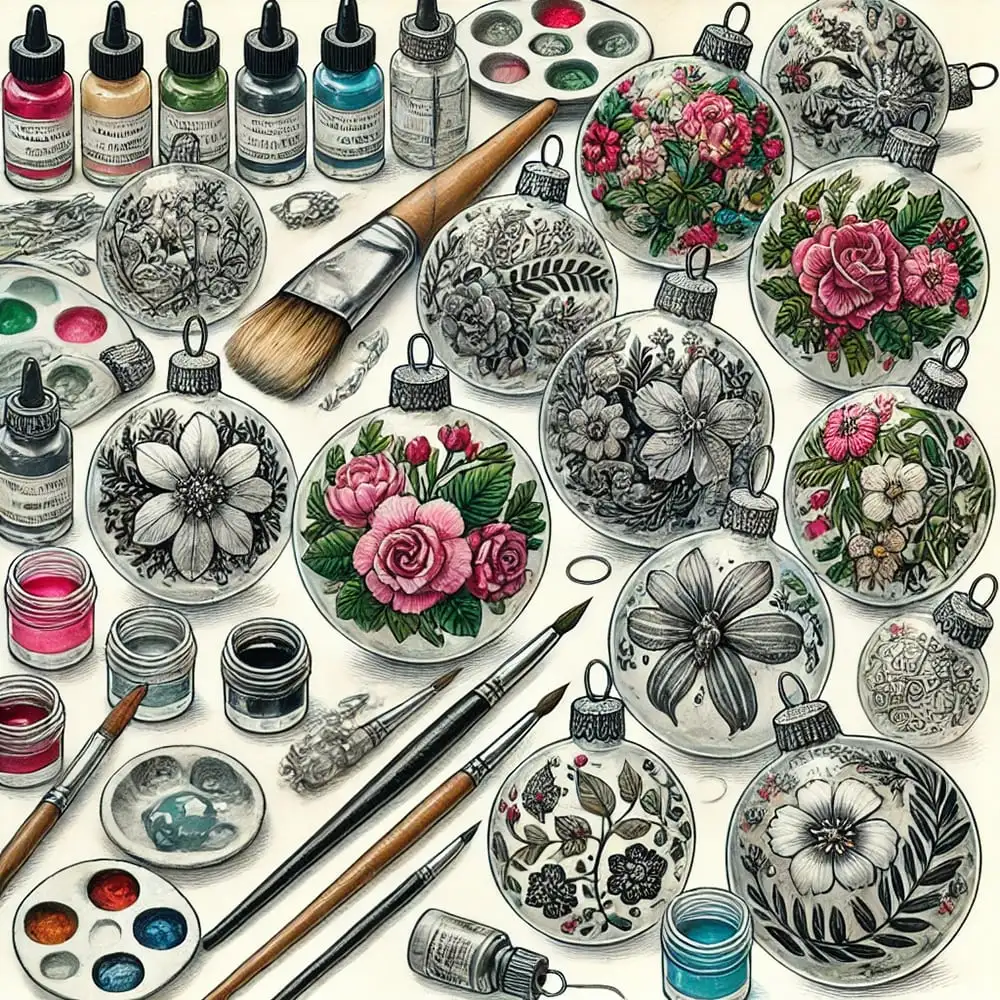
- Prepare Your Workspace: Cover your table with newspaper or a disposable tablecloth to protect it from paint spills. Gather all your materials within easy reach.
- Clean the Ornaments: Wipe the surface of the ornaments with a damp cloth to remove any dust or oils that could affect paint adhesion.
- Select Your Patterns: Decide on floral patterns that resonate with each family member’s style—roses, daisies, tulips, or abstract floral designs are great options.
- Paint the Ornaments: Use fine-tipped brushes to carefully apply acrylic paint onto the ornaments. Start with lighter colors as a base and add details with darker shades.
- Allow to Dry: Place the painted ornaments on a drying rack or hang them up using their hooks until they are completely dry.
- Add Finishing Touches: Once dry, embellish your designs with glitter or small rhinestones for extra sparkle.
Each ornament becomes a unique piece of art, adding a personal touch to your Christmas tree and creating cherished memories of time spent together crafting beautiful decorations.
3. Stamp Ornaments with FIMO Clay
Creating personalized ornaments using FIMO leather effect clay is a delightful way to add unique, meaningful decorations to your Christmas tree. This project involves crafting custom-shaped ornaments that can be stamped with designs or messages, making them perfect for DIY Christmas ornaments projects.
Instructions for working with FIMO leather effect clay:
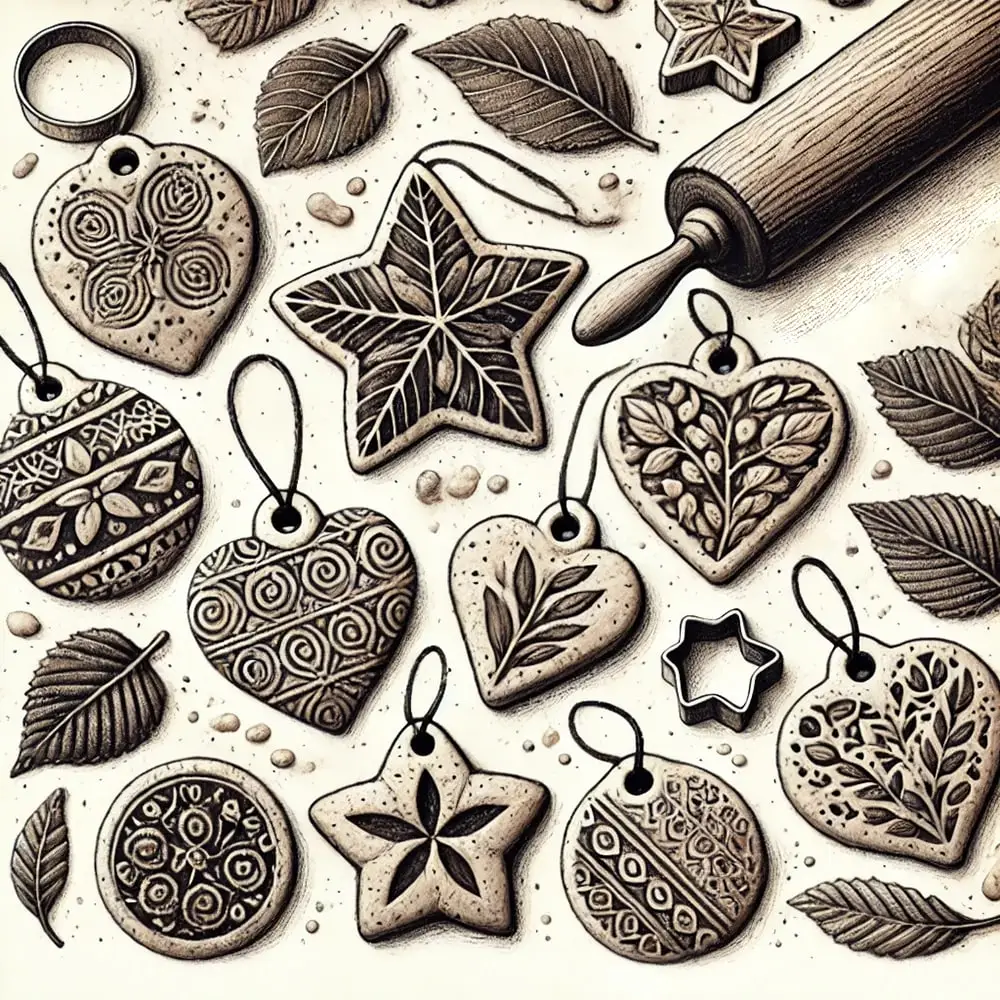
- Prepare the clay: Soften the FIMO clay by kneading it in your hands until it’s pliable.
- Roll out the clay: Use a rolling pin to flatten the clay to your desired thickness.
- Cut shapes: Employ cookie cutters or a knife to cut out various shapes like stars, hearts, or even custom designs.
- Stamp designs: Press leaves, textured fabrics, or custom stamps into the clay to create unique patterns and messages.
Suggestions for materials as stamps:
- Leaves: Capture intricate natural patterns by pressing leaves into the soft clay.
- Textured fabrics: Use lace or burlap to imprint interesting textures.
- Custom stamps: Create personalized messages or symbols with homemade or store-bought stamps.
Incorporating these elements not only adds a personal touch but also makes these ornaments wonderful personalized gifts. This hands-on activity encourages creativity and adds a special touch to your holiday décor.
4. Fabric and Ribbon Wrapped Ornaments
Creating Fabric and Ribbon Wrapped Ornaments is a delightful way to give old, plain ornaments a cozy makeover. By using strips of fabric or ribbon in festive colors and patterns, you can transform ordinary decorations into unique pieces that reflect your family’s holiday spirit.
To begin:
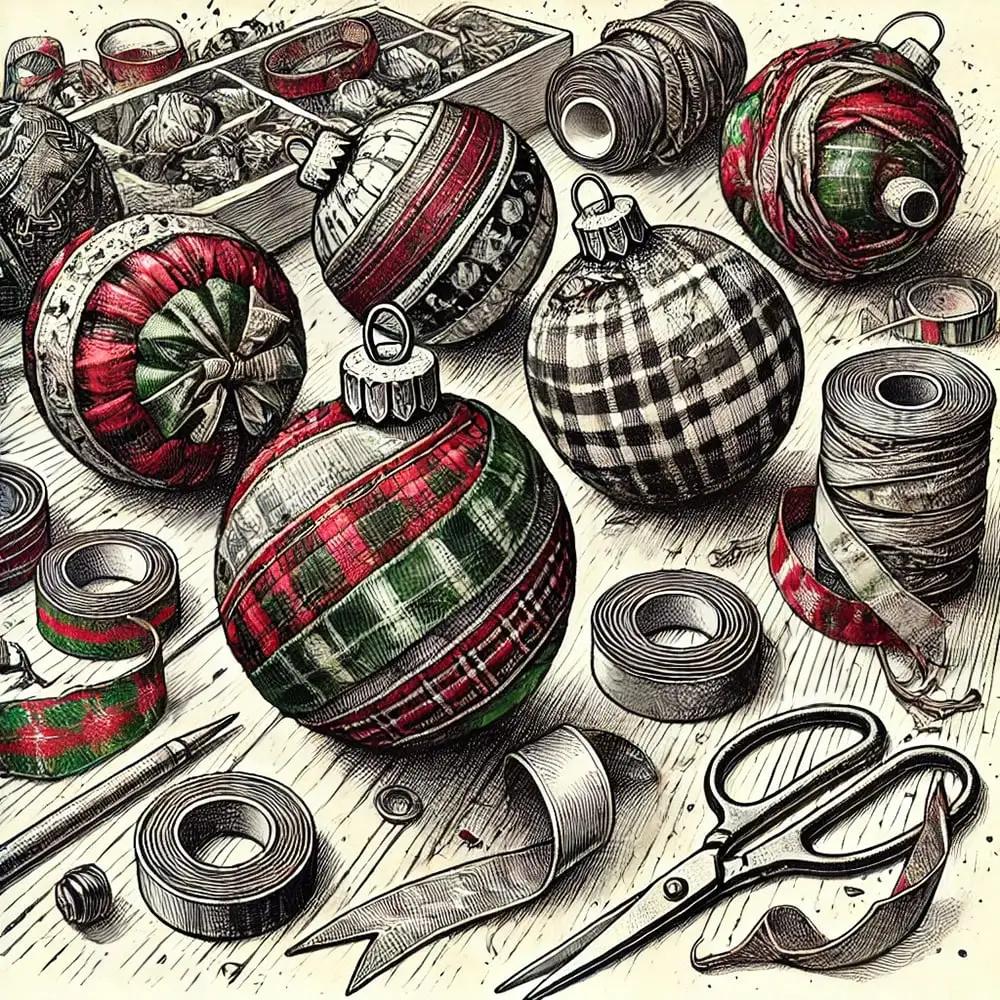
- Gather Materials: Collect old ornaments, fabric scraps, and ribbons. Choose festive colors like red, green, gold, or even plaid patterns.
- Wrap and Secure: Cut the fabric or ribbon into strips and wrap them around the ornament. Secure each strip with glue or double-sided tape.
- Get Creative: Utilize leftover fabric scraps you have at home. Mix different textures and patterns for a whimsical decor touch.
This project not only repurposes old ornaments but also encourages creativity and resourcefulness, making it one of the most rewarding DIY Christmas ornaments projects.
5. Macrame Feather Christmas Ornaments
Creating macrame feather ornaments is a delightful way to add a touch of boho charm to your holiday decor. This section guides you through the basics of macrame crafts, perfect for DIY Christmas ornaments projects.
Basic Macrame Techniques:
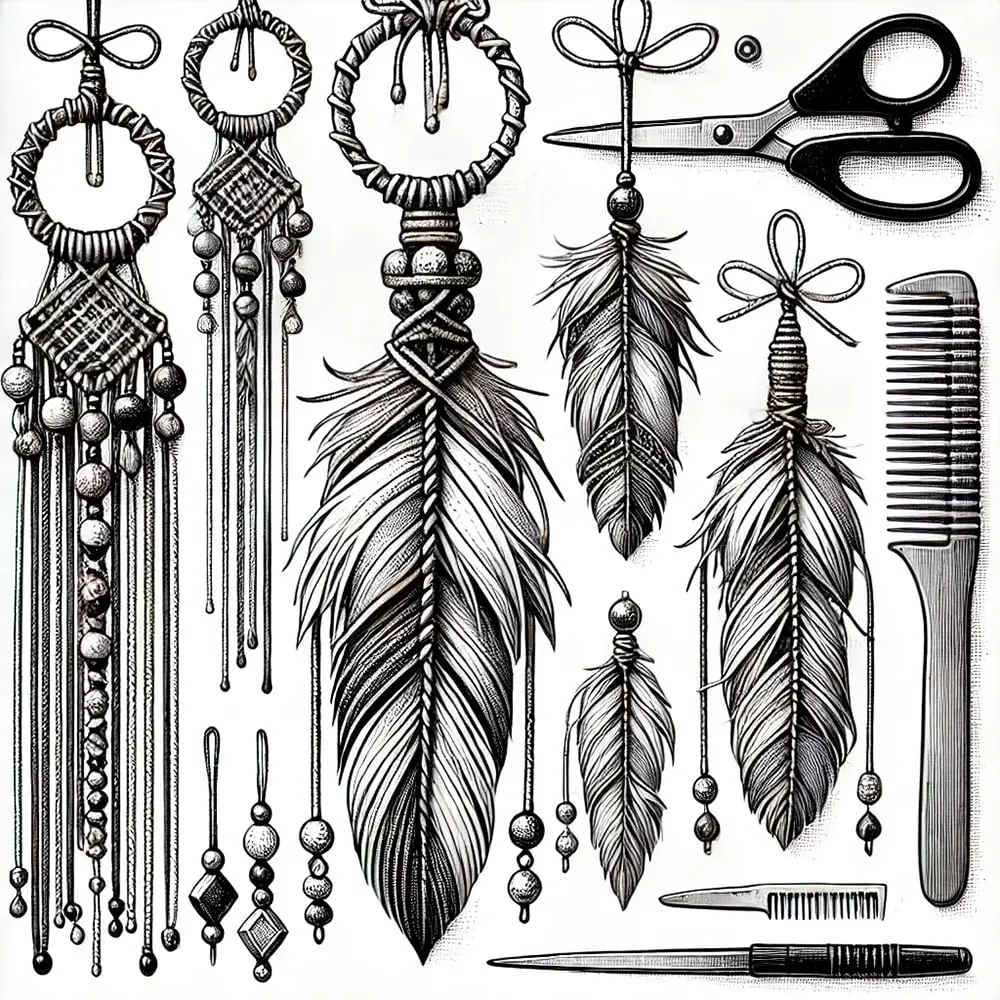
- Gather Materials: You’ll need cotton cord, scissors, and a comb.
- Create the Loop: Cut a length of cord and fold it in half to create a loop at the top.
- Attach Feathers: Tie shorter pieces of cord onto the main loop using simple knots.
- Shape the Feather: Trim and comb out the ends to form a feather shape.
Designing and Hanging Tips:
- Choose cords in festive colors like red, green, or gold.
- Add beads or small charms for extra decoration.
- Use these ornaments on your tree or as part of a wall hanging.
Incorporating macrame feather shapes into your holiday decor offers a unique and personalized touch that reflects your family’s creative spirit.
6. Mini Christmas Wreaths
Creating mini wreaths brings a touch of rustic decor to your tree, making DIY Christmas ornaments projects a delightful family activity. These mini wreaths can also double as charming gift toppers, adding a personal touch to your presents.
Materials Needed:
- Faux cranberries
- Dried orange slices
- Cinnamon sticks
- Small grapevine wreath forms
- Hot glue gun and glue sticks
- Twine or ribbon for hanging
Steps to Assemble:
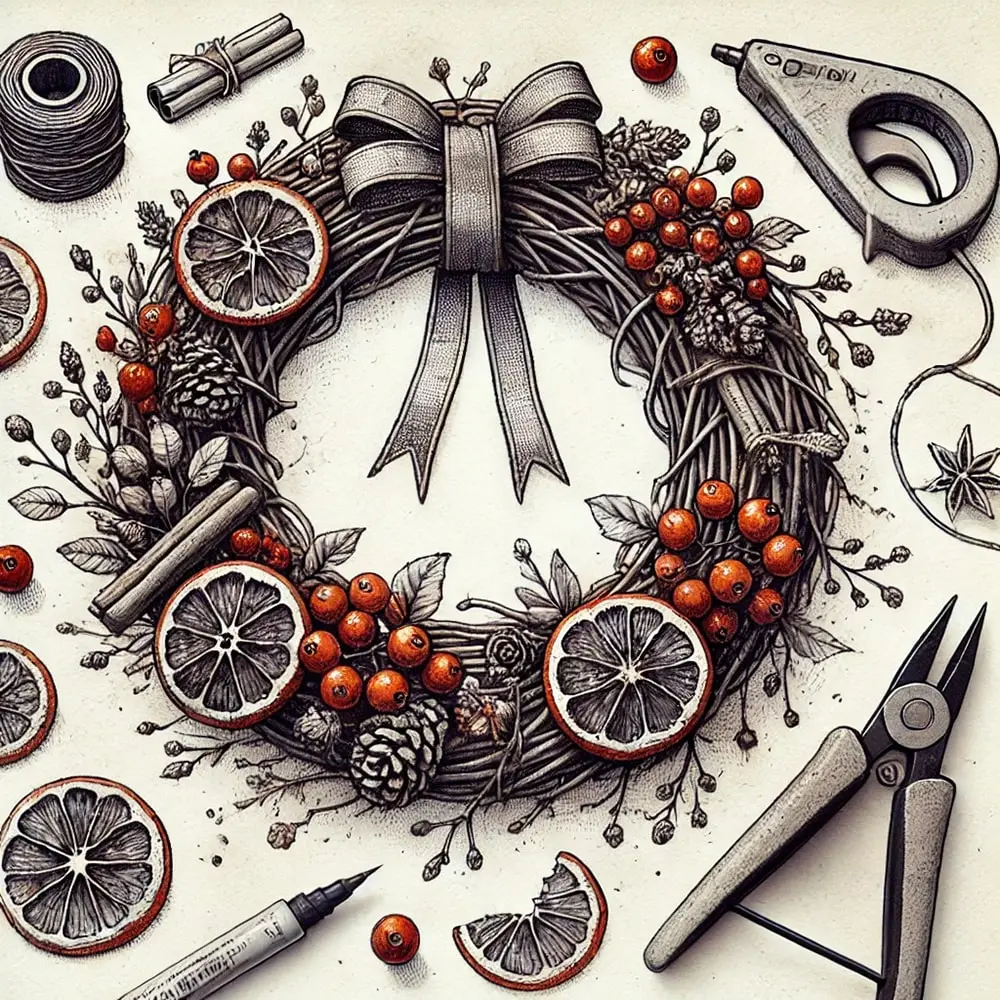
- Prepare Your Elements: Gather all your materials. Cut the dried orange slices into halves if they are too large for the small wreaths.
- Attach the Cranberries: Using a hot glue gun, carefully attach faux cranberries around the grapevine wreath form. Space them evenly for a balanced look.
- Add the Orange Slices: Glue dried orange slices onto the wreath, positioning them between the cranberries.
- Incorporate Cinnamon Sticks: Attach small cinnamon sticks in clusters to add a festive aroma and rustic charm.
- Finishing Touches: Loop twine or ribbon through the top of the wreath form to create a hanger.
These steps make it easy to craft beautiful mini wreaths that enhance your holiday decor with natural elements and whimsical charm.
7. Book Page or Map Paper Stars
Adding a literary touch to your Christmas tree ornaments can be both meaningful and eco-friendly. Upcycling paper crafts like old book pages or maps into star shapes brings a unique charm to your holiday decor.
Transforming Paper into Stars
Materials Needed:
- Old book pages or maps
- Scissors
- Glue
- Glitter (optional)
- Ribbon bows (optional)
Step-by-Step Instructions:
Step 1: Create Your Star Template
- Draw a simple star shape on a piece of sturdy cardstock or cardboard. You can make stars with 5 or 6 points, depending on your preference. The size of the star can vary based on the ornament size you want.
- Cut out the star template, making sure the edges are smooth.
Step 2: Trace and Cut the Stars
- Place the template on top of your book pages or map paper.
- Trace around the template using a pencil and cut out the stars with scissors. You can cut several stars from one page, depending on the size of the paper and the stars.
Step 3: Fold for Dimension
- To create a 3D effect, fold the star along each of its lines, from the tip of one point to the opposite inward indent. Repeat this for all the points, creating creases.
- Once folded, gently press along the edges to accentuate the shape. If the paper is thin, be gentle to avoid tearing. This creates a beautiful dimensional look when hung.
Step 4: Assemble Layered Stars (Optional)
- For layered stars, cut two stars of the same size. Apply glue along the inner edges of one star and carefully place the second star on top, aligning the points.
- Press the stars together until they dry. You can also glue the tips of the points to secure the layers.
Step 5: Glue for Stability
- If you want the star to hold its 3D shape, you can glue specific parts of the folds to make them more defined and secure. Place glue on the inner creases for a more stable look.
Step 6: Add Embellishments
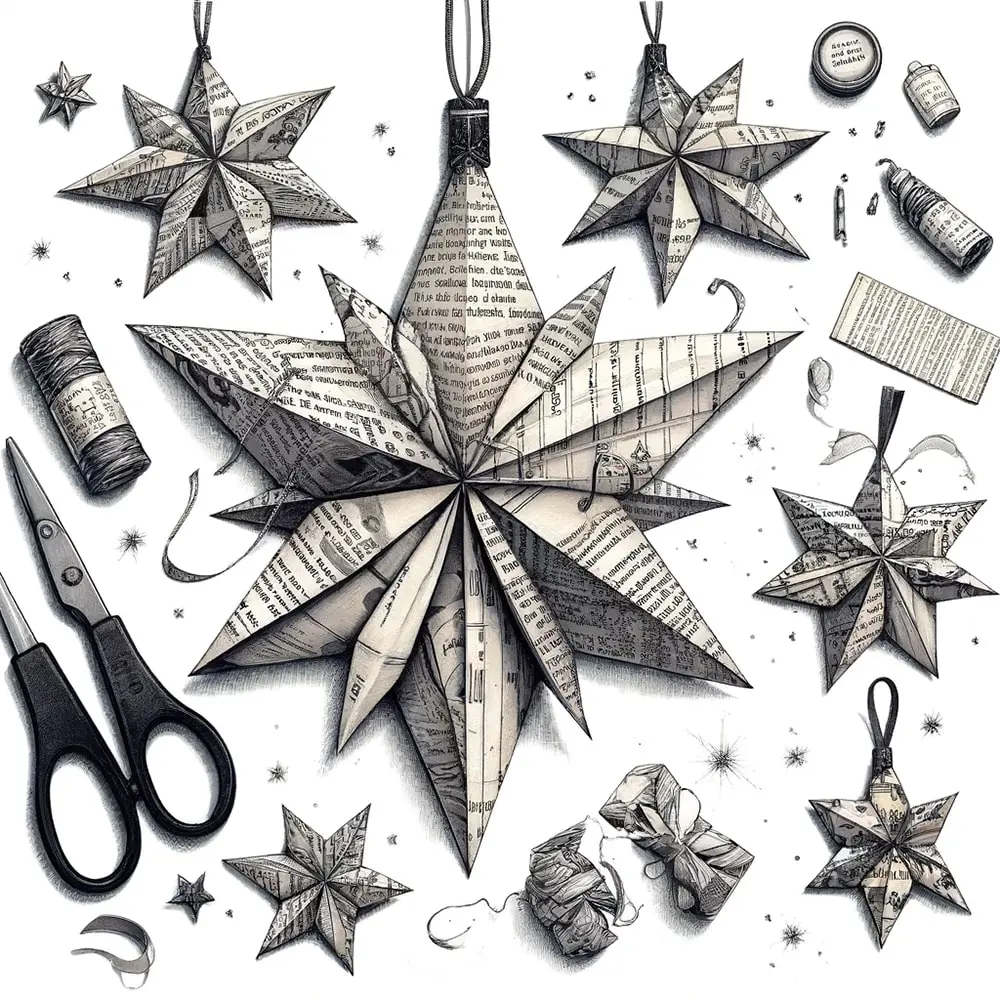
- Glitter: Apply craft glue to specific areas of the star (like the tips or edges) and sprinkle glitter over the wet glue. Shake off any excess glitter and let it dry.
- Ribbon Bows: Attach small ribbon bows to the center of the star or at the top point for a decorative touch. This adds an elegant, festive element to your stars.
- Hanging Option: If you want to hang your stars, use a hole punch to make a small hole at the top of the star. Thread a piece of twine, ribbon, or string through the hole to create a hanger.
Step 7: Let Them Dry
- If you’ve added glue or glitter, allow your stars to dry completely before handling them or hanging them on the tree. Place them on a drying rack or flat surface to avoid smudging the decorations.
Final Touches:
For extra customization, you can write small, meaningful quotes or holiday messages on the stars using a fine-tipped marker. This adds a personal, literary touch.
Once your stars are dry, they’re ready to be hung on your Christmas tree or used as a part of your home’s holiday decor.
Embellishments:
- Add glitter for a sparkling effect.
- Attach small ribbon bows for an elegant touch.
Creating these DIY Christmas ornaments projects not only adds whimsical decor to your tree but also fosters creativity and teamwork within your family.
8. Wired Ribbon Christmas Angels
Creating angel decorations from wired ribbon is a delightful way to bring festive symbols of peace and goodwill into your home. These wired ribbon crafts are not only beautiful but also easy for all family members to participate in, making them an excellent addition to your list of DIY Christmas ornaments projects.
To make your own wired ribbon angels:
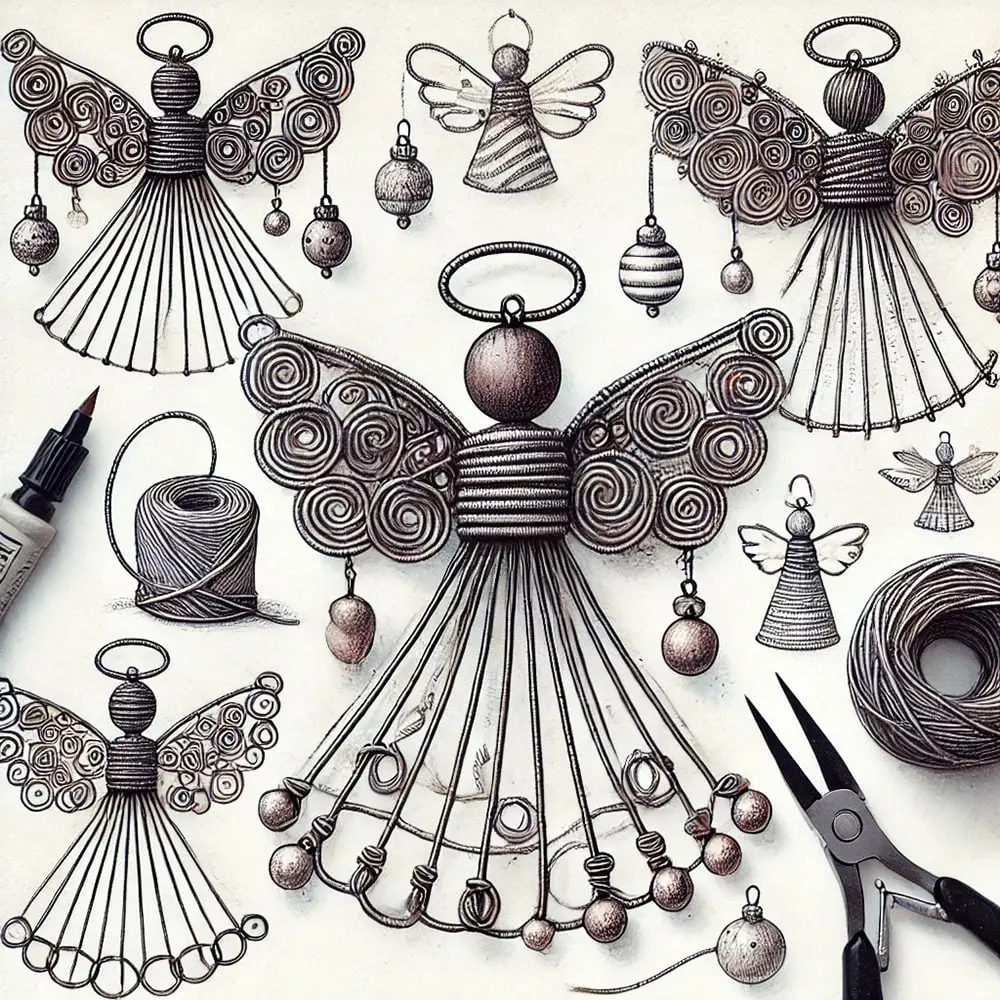
- Gather Materials: You’ll need wired ribbon, pipe cleaners, small wooden beads for the heads, and hot glue.
- Form the Body and Wings: Shape the wired ribbon into loops for the body and wings, securing with pipe cleaners.
- Attach the Head: Glue a small wooden bead to the top of the body loop to serve as the angel’s head.
- Add Finishing Touches: Use smaller pieces of ribbon to create halos or additional decorations.
These charming angels can be hung on your tree or used as unique gift toppers. Embrace the joy of crafting these personalized decorations together as a family, creating lasting memories while adding a touch of whimsical decor to your holiday celebrations.
9. Pipe Cleaner and Beads Snowflakes
Creating snowflakes from pipe cleaners and beads is an enjoyable project that brings the family together. These easy crafts for kids are perfect for personalized, colorful decorations on your tree.
Steps to Create Pipe Cleaner Snowflakes:
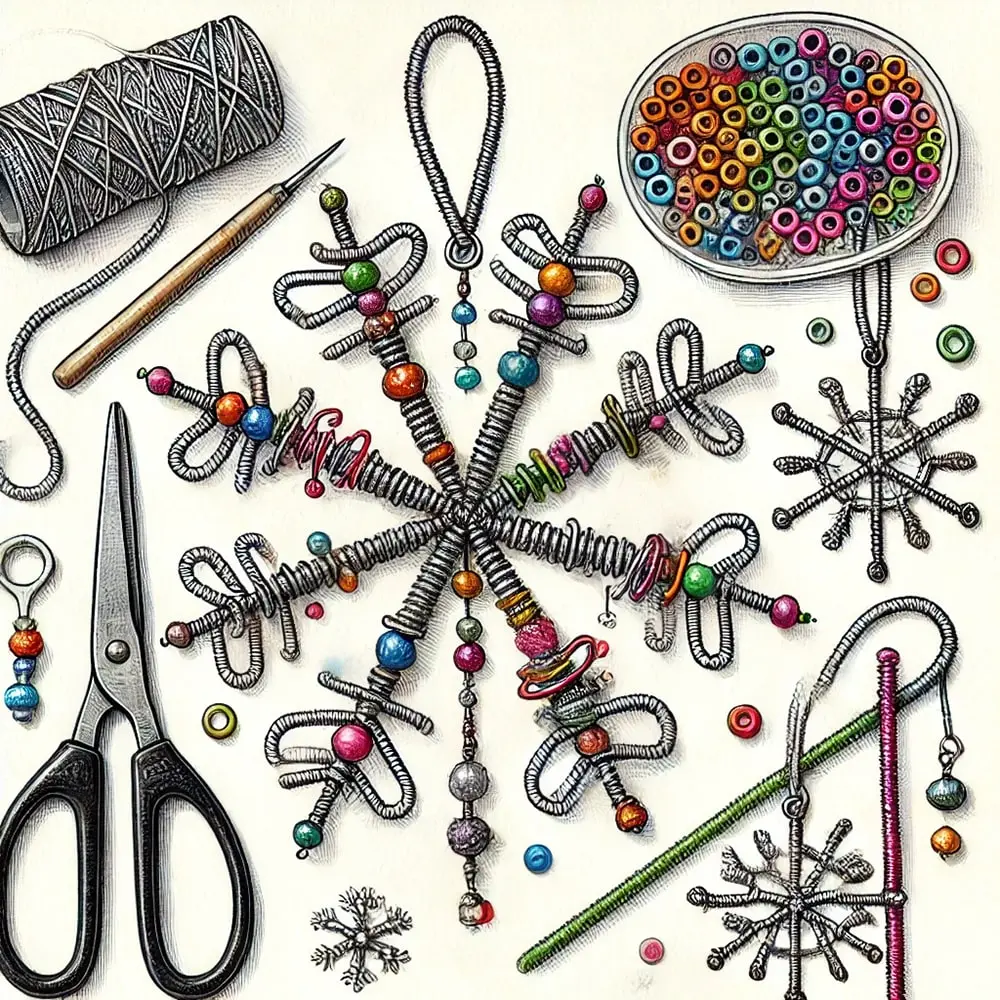
- Gather Materials:Pipe cleaners in various colors
- Assorted beads
- Scissors
- Wire cutters (optional)
- Shape the Snowflake:Cut three pipe cleaners in half.
- Twist them together at their centers to form a star shape.
- Add Beads:Thread beads onto each arm of the star.
- Secure the ends by bending or twisting the pipe cleaner tips.
- Customize and Decorate:Experiment with different bead patterns and color combinations.
- Try varying lengths of pipe cleaners for unique designs.
Variations on Snowflake Designs:
- Use metallic or glittery pipe cleaners for a sparkling effect.
- Create multicolored snowflakes by mixing different bead shades.
These DIY Christmas ornaments projects not only enhance your holiday decor but also create treasured memories of crafting together as a family.
